When it comes to propagating any plant, you will find that some are easier than others to propagate. The Polka Dot Plant (Hypoestes phyllostachya) is one of them, for sure! This post will walk you through the steps it takes to turn your small stem cuttings into more beautiful plants!
The steps you take to get a new plant will be relatively easy and any plant parent, new or experienced, can easily do this. Finding the right plant to cut from, using the right tools to trim your cuttings, finding the right container to grow new roots in, and having the proper pot to put your rooted cuttings into is something we will talk about here!
This post includes affiliate links.
Table of Contents
Background of the Polka Dot Plant
Before we get into pnograption methods, here’s some quick background of the polka-dot plant!
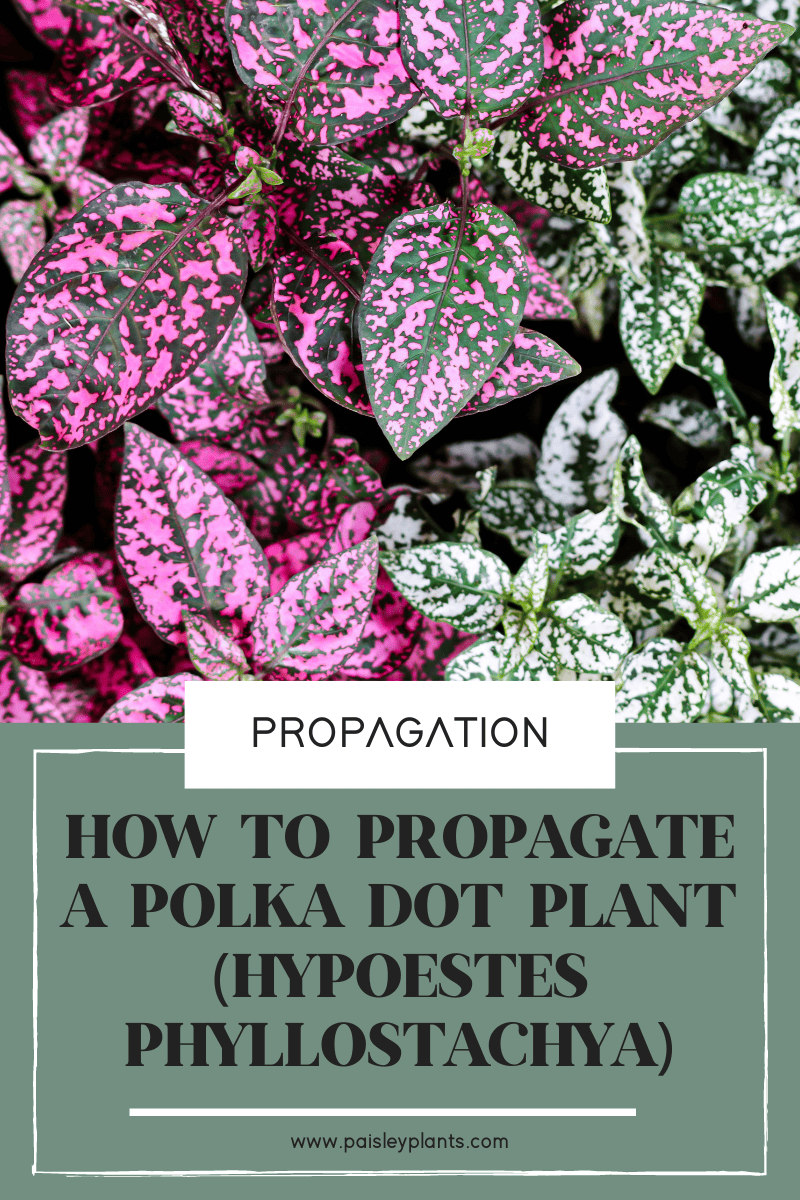
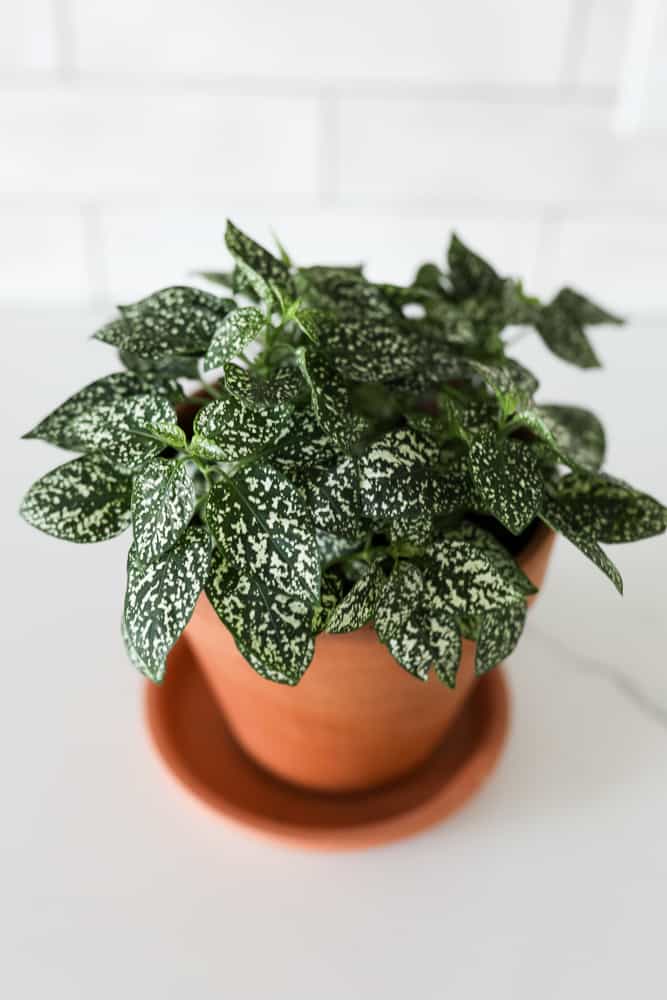
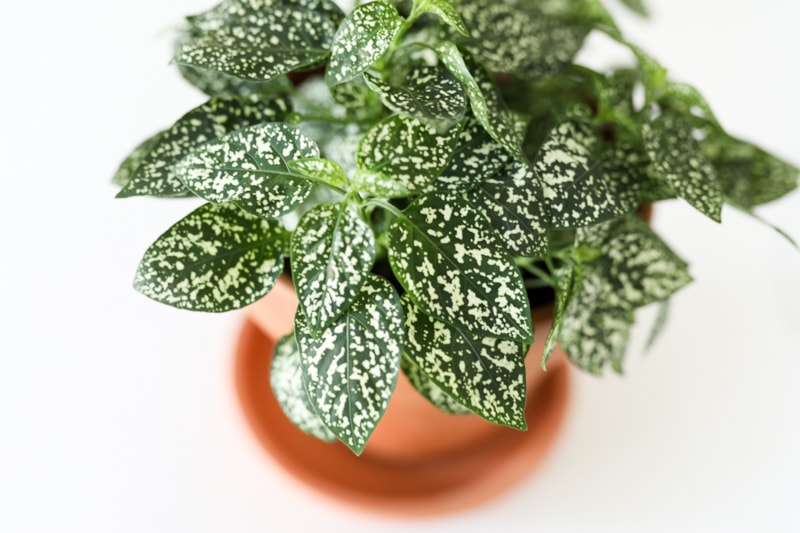
There are several different colors of Polka Dot plants (Hypoestes phyllostachya) out there, the most common being a pink base with green spots. I have a dark green with white spots variety, as you’ll see in this post!
They’re native to South Africa and Madagascar and sometimes bo by the names Freckle Face Plant due to their polka dots or Flamingo Plant because of their pink hue.
I find these a bit more difficult to grow but with the right environment they can great indoor plants! These plants need quite a bit of bright indirect sunlight to grow happy and healthy.
They prefer moist soil but not soggy. Too much water can cause root rot which can be detrimental to your plant. You can fertilize your plants during the growing season (spring to late summer) for optimal growth.
These plants are non-toxic making them a great plant if you have pets or kids!
How to Propagate a Polka Dot Plant
The first thing to consider is which type of propagation you will use. There are a few kinds to consider. One is propagating your stem cuttings in water. Another is propagating them in soil.
You can also propagate your Polka Dot plant by dividing the mother plant into several plants and repotting them. This method is one that can be done if you have a larger plant that has several plants that are growing together in the same pot.
Another method is propagating your plant from seeds. When you plant blooms, you may want to take the dried out seeds and use them to plant new plants. This option will take longer and may have to go into the next growing season, but it is also a good option.
Let’s talk about each of these options below:
Propagation in Water
The first step is to find a healthy stem on Polka Dot plant to use for cuttings. Be sure the plant has no yellowing leaves or brown spots and no signs of pests or disease. Also, you will need to make sure the plant has no flowers on the stems. Blooming stems have a lower chance of growing roots.
You will need to find the node (the point where the stems grow from) on the plant and cut between two nodes. It will look like a small round bump on the stem. Cut between two nodes using a sharp, sterile pair of scissors or gardening shears. Be sure your cutting is 4-5 inches long and has at least three nodes.
You need to have at least three stems to make for a fuller plant. Be sure to cut off the leaves coming out of the bottom two nodes. You will now be left with a cutting with two bare nodes at the top and one or two leafy nodes at the top.
Now you will want to place your cuttings in a propagation station or a glass of water (preferably a clear one so you can see the new roots growing) and fill it with room temperature water. Be sure to submerge the bottom two nodes in the water. Put them in water as soon as possible or they may begin to wilt.
Keep the container in a warm, sunny room but away from direct sunlight. A windowsill works well for this. You need to change the water in the container at least once a week to avoid algae from growing in the water. After 7-10 days, you should begin to see root development.
You can wait until they grow to about two inches long, or you can leave them in the jar indefinitely. As long as the leaves aren’t wilting, your cuttings may just need a bit more time to grow new roots. Once you decide to plant them, they should take hold in the soil and you will have a beautiful new Polka Dot plant!
Propagation in Soil
Begin this process with a healthy plant. Find one that has no yellowing leaves, brown spots, disease or pests. Use a sharp, sterilized scissor to cut several cuttings from the mother plant. Use the same method of cutting between nodes we discussed in the above section about water propagation.
Be sure to use a pot with good drainage holes in the bottom. The pot should not be too big as this will allow the pot to retain too much moisture in the soil causing the roots to rot. You should use a 3-inch pot for two cuttings, a 4-inch pot for three cuttings, or a 5-inch pot for four cuttings. You can see how this works. The pot should also be at least three inches deep to allow the roots to grow properly.
Fill the pot with well-draining soil, but soil that will also maintain a certain amount of soil and won’t dry out too soon. An equal mix of regular potting mix, sand and perlite is a good mix.
Optional step – dip the bottom of your Polka Dot plant cuttings in rooting hormone. It’s an extra step that can help your success rate! Stick your cuttings into the soil until the nodes are below the soil level. Water them well and keep them in a warm place so they begin to take hold in the new soil.
Be sure to check the soil regularly so that it never dries out completely. Polka Dot plants are very sensitive to drought and if you forget to water them, they will soon die!
The new cuttings should begin to show signs of new growth after about a couple of weeks. You can test the root growth by tugging at the cuttings to see if they come out of the soil. Once they take hold, they won’t pull right out of the soil when you do this.

Propagation by Division
If you have a larger Polka Dot plant that you want to propagate or divide, this is a good method to use. The best time of year to do this is in the spring or summer months when the growing season is at its height.
You will want to water your plant a day before you divide the plant. This will help loosen up the soil and make it easier to untangle the roots when you pull the plant out of the pot.
When you are ready to divide the plant, remove the plant from the pot and use your fingers to gently separate the roots. One thing to remember about plants – they are pretty hardy and won’t die if you aren’t very careful with them! Not that you have to be mean to them, but don’t get too worried if you handle them a little rough – they’ll survive!
After you separate the plant, repot each section into a new pot with fresh soil. The new plants will take about 2-3 weeks to become established and have their root system take hold. After they get set in the soil, you can start pruning them back to get the plant to become bushier.
Propagation by Seeds
Polka Dot plants all grow flowers. They usually do this in the summer months. After they bloom, the plant will reach the end of its life cycle and will begin to die. Once this happens, it is best to just let your plant go to seed. You can then use the seeds for propagation!
To harvest the seeds from your Polka Dot plant, you will need to wait until the flowering stems are completely dried up. Then you will want to use a scissor or gardening shear to cut off each dried flower head. Remove the papery husks covering the seeds by pinching them off.
Each flower will produce at least one or two seeds. They will be orangey brown in color and are very small. This may make them difficult to see. You may need to harvest the seeds on a white paper towel or piece of paper to see them better.
Store your harvested seeds in a ziploc plastic bag for future use. This way you will have seeds to propagate new plants next year in the new growing season. Or you can even give them to friends and family to use for new plants for themselves!
The best time to plant your seeds are in the spring and summer months prior to the new growing season. If you are going to be putting your seeds in an outdoor garden, you will want to start them indoors about eight weeks prior to planting them outdoors to give them a good start.
Don’t plant them outdoors until the danger of frost is over. You can determine this by looking online for the last frost date or watch your local weather for this information.
This should give you some ideas about how easy it is to propagate your Polka Dot plant. Whatever method you decide to use, it is worth trying to grow a few new plants. Especially since the Polka Dot plant is such an easy one to propagate. As always, keep on growing!