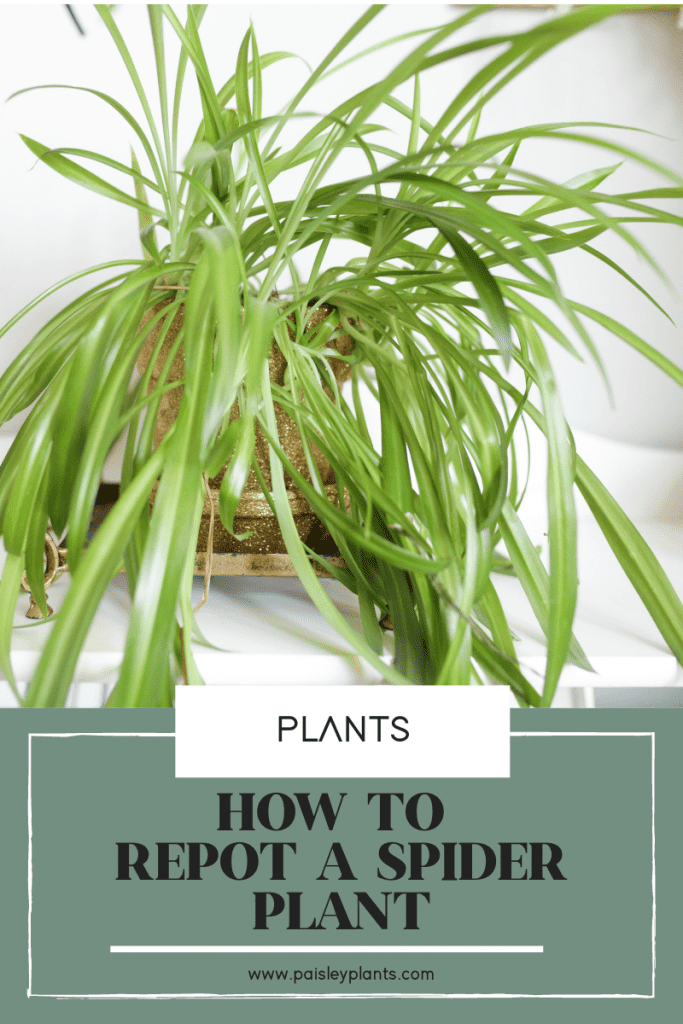
Have you ever seen a spider plant? While its name sounds spooky, it’s actually a pretty thing to look at. It’s also one of the easiest house plants to grow, making it a great plant for beginners!
But at some point, it will get too big for the pot it’s in and will need to be repotted. That’s what I’m going to share about today!
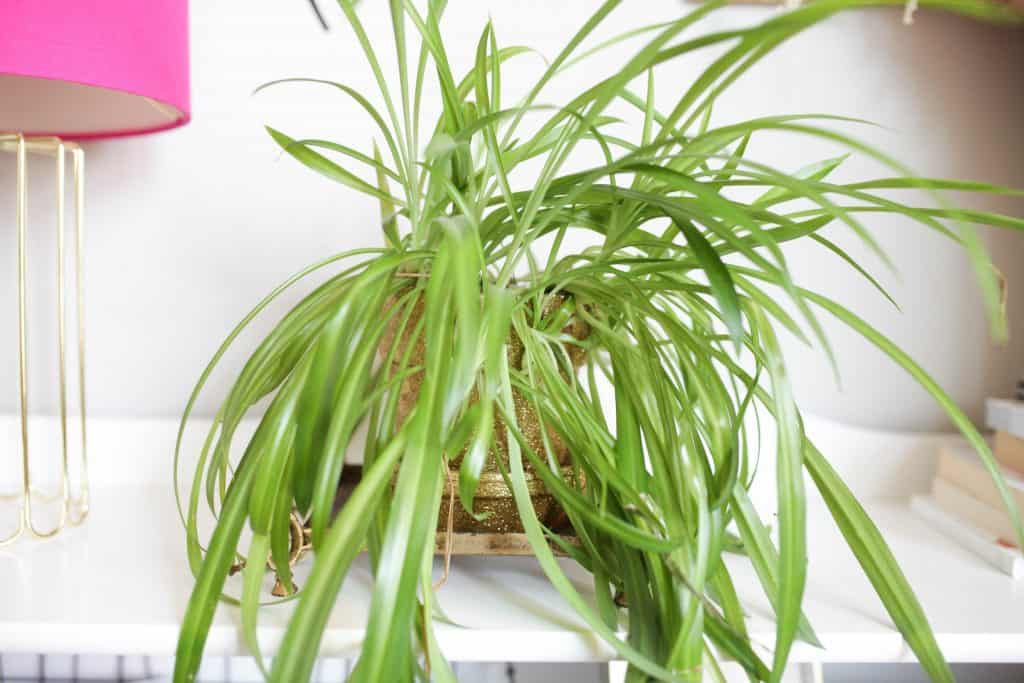
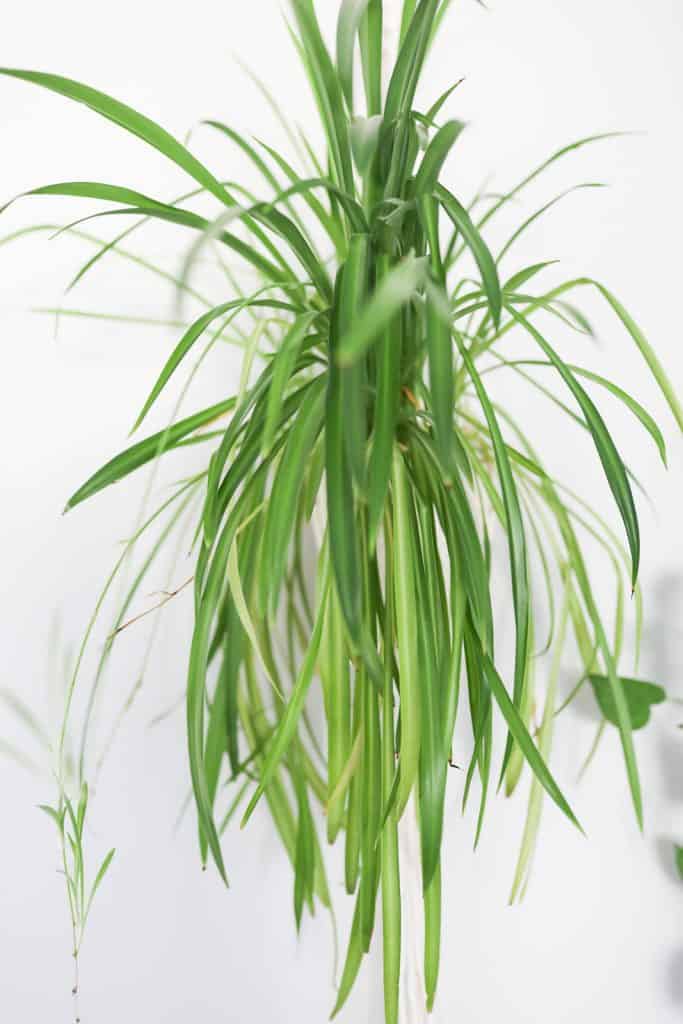
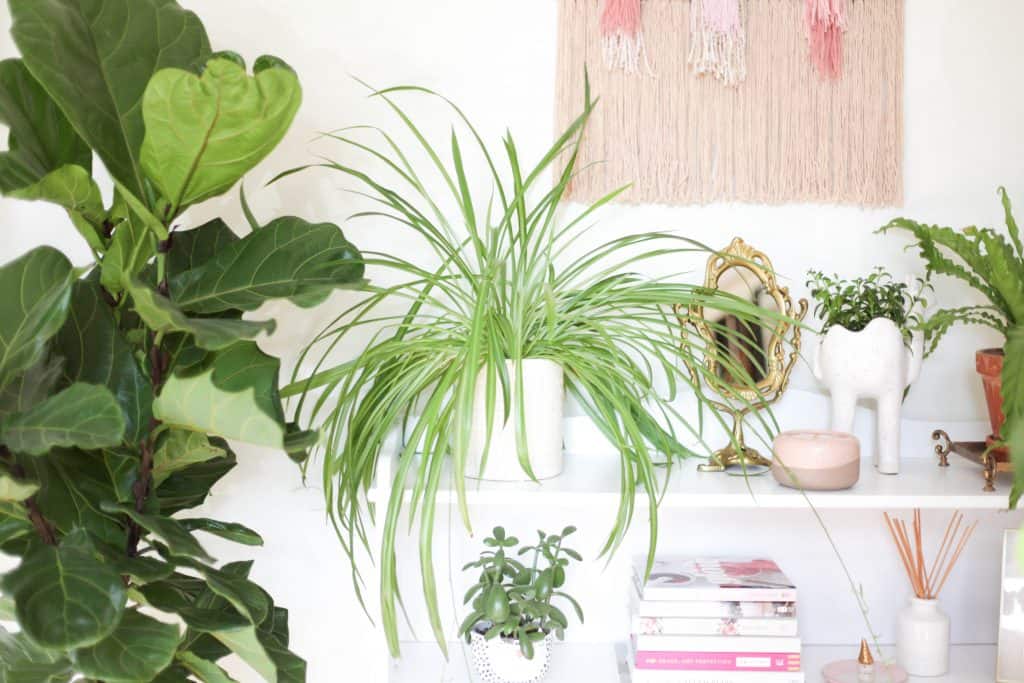
Spider plants were the second type of plant I owned (after a pothos plant). A spider plant is a beautiful house plant that makes a grand statement anywhere it’s planted, whether in a pot on your windowsill or in a planter hanging from your porch ceiling.
It also has wonderful air purifying properties that make it a valuable addition to your home!
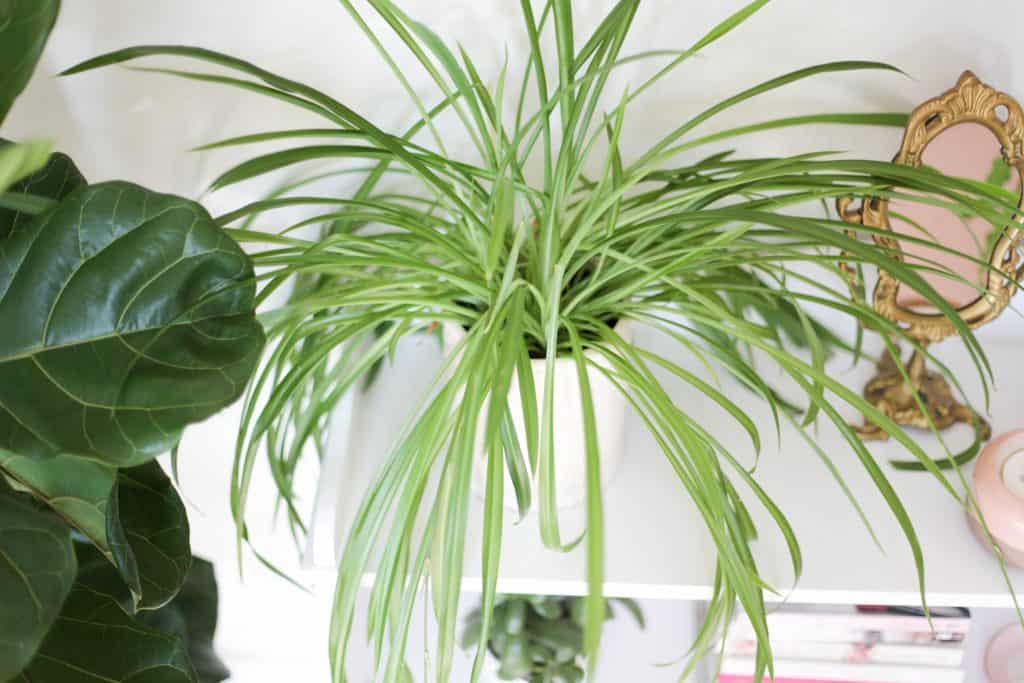
Known scientifically as Chlorophytum comosum, it’s also commonly referred to as spider ivy, ribbon plant, Bernard’s lily, or airplane plant. Spider plant is it’s most common name.
Native to Africa, a spider plant is relatively easy to grow and care for, making it a popular houseplant. This herbaceous perennial with long, thin, arching leaves and small, white, star-shaped flowers is hardy and adaptable.
This post includes affiliate links.
Once you start growing these indoor plants in your house, you’ll find that you’ll need to repot it every once in a while, or else the pot will look cramped and it won’t grow as well.
If you already have a spider plant in your home, check out this guide that will tell you everything you need to know about repotting spider plants.
Table of Contents
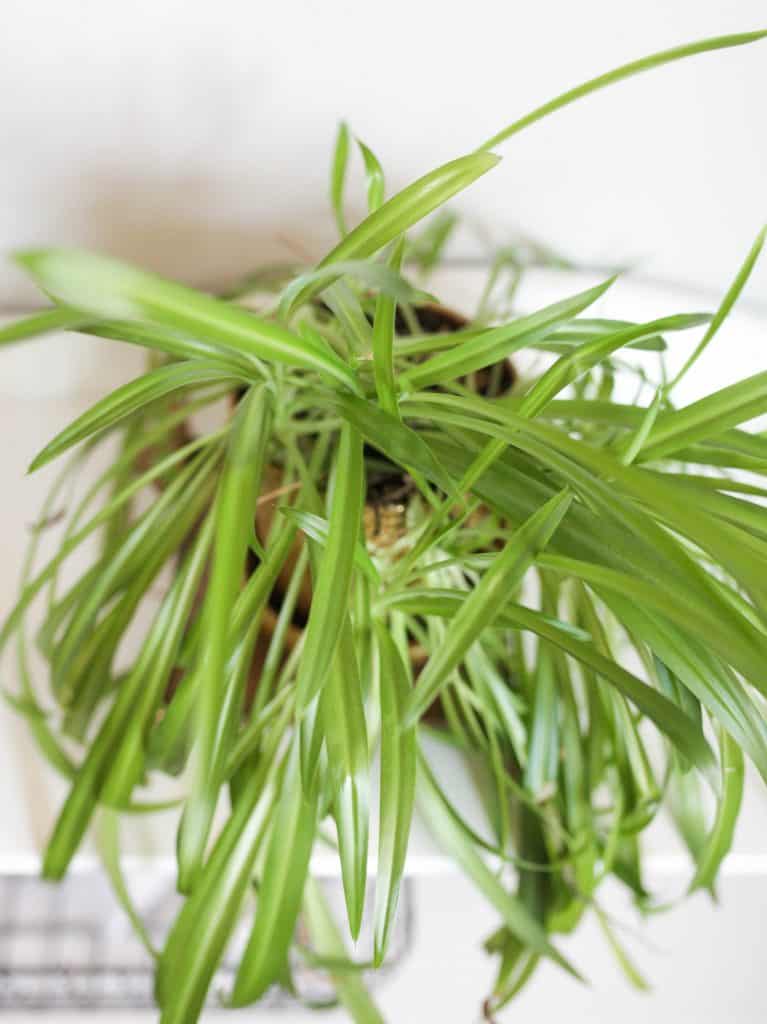
How To Tell It Needs To Be Repotted
If you are well-versed with the ways of a spider plant, you’ll know that it doesn’t need too much space and can grow well and wild in its pot without much effort on your end. But after a point, it will require a bigger pot to ensure it’s a healthy spider plant and encourage new growth.
You’ll understand that it’s time to repot a spider plant when:
- Its roots are jutting out of the bottom of the pot through it’s drainage holes.
- The plant’s roots can be seen above the soil line.
- The soil in the pot dries out quickly, leading to limp, lifeless leaves.
- The planter or pot has become damaged.
- The green and white or plain green leaves have become yellowish-green.
- Most of the leaves look brown or dried up.
Time of Year to Repot
If you need to repot your spider plant, the best time of the year to do it is in the spring and summer months. If it’s fall or winter, it’s advisable to wait until the growing season to repot the plant.
However, they’re very hardy plants so they should be ok to be repotted year round. Just keep in mind that you have a better chance of success during the grow months.
Since these plants don’t mind being rootbound, repotting can be once every one to two years. However, they may grow more once they are given the right conditions.
How to Repot Spider Plant
Repotting a spider plant is easy. We’ll tell you how to do it, along with other must-knows for repotting this lovely ornamental.
Here are the 4 steps you need to follow to repot a spider plant:
1. Remove the plant from the pot.
Carefully remove the spider plant from its pot or container. Remove extra dirt from the roots and check them for damage or insects like spider mites, whiteflies, or aphids. Dark or soft roots are indicators of rot or disease.
2. Trim back damaged roots.
If you find any damaged roots, trim them away and remove an extra half-inch of the healthy ones.
3. Plant in a new pot
Plant the spider plant in the pot or container and cover the tuberous roots with potting soil. Pat the fresh soil around the roots gently to allow it to settle.
4. Place in the correct light environment
Place the plant in a window or area that gets bright, indirect sunlight and water it to keep it moist. Feed it with a good liquid fertilizer to prevent plant shock.
Type and Size of Pot
You can choose any type of container for repotting a spider plant, such as a pot, hanging planter, or bucket. Just make sure that it is a few inches bigger than the plant is currently growing in. This will ensure that the new plant has enough space to spread its roots and grow for a while before it needs to be repotted again.
However, if you’re repotting the spider plant to propagate it, you don’t need a bigger container. Depending on the plant size, you can plant the plantlets in multiple small pots or containers.
If you’re planning to use a clay pot, here’s a word of caution: clay pots absorb water from the soil. While that’s good to prevent overwatering, it can also make the soil dry out faster and lead to a dry, lifeless plant.
Moreover, the spider plant’s ability to propagate rapidly means that it will spread its roots quickly to the extent that the clay pot will no longer contain it, leading to the breakage of the pot. A plastic pot or container is a great option for spider plants since they are flexible enough to accommodate the plant’s growing root system.
The new container also needs adequate holes to drain excess water well and keep the plant moist but not soggy. A soggy plant deteriorates faster and can be prone to root rot.
If you don’t want to pierce drainage holes into your new pot or container, you’ll have to be careful while watering the plant, or else excess watering will ruin your spider plant instead of promoting healthy growth.
Many of my own spider plants are in pots that don’t have drainage holes and they do just fine. Just take extra care when watering!
Type of Soil
Ensuring good drainage also depends on the soil type. A spider plant needs all-purpose, loamy potting soil that drains well. Choose a soil that can absorb and drain water well. Again, too much moisture sitting on the pot can cause root rot and prevent healthy plant growth.
Adding sand or perlite to the soil enhances drainage. Improve aeration by adding a combination of pine bark, peat, or foam bids to the soil mix.
Soil pH is another factor to consider when repotting. While spider plants can tolerate mildly acidic to slightly alkaline soil, soil with a neutral pH is the optimal choice. Note that excess salts in the soil can cause the tips of the plant’s leaves to turn brown.
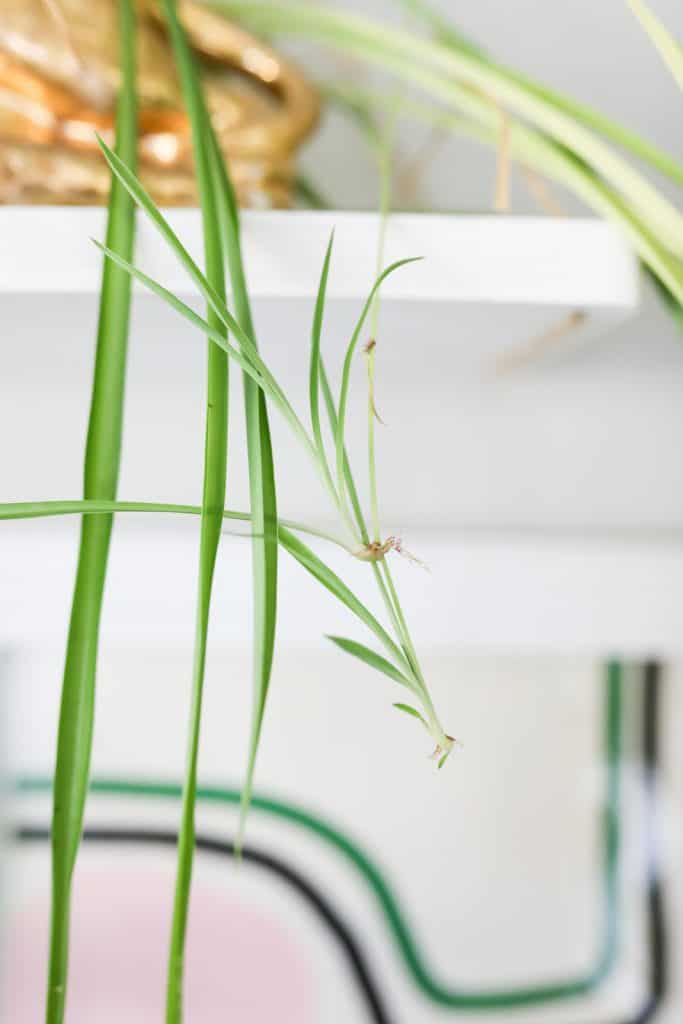
Potting Spider Plant Babies
Once your spider plant becomes mature, it will produce new plant offshoots called baby spider plants, aka “spiderettes” or “pups.” You will find them growing on the ends of the mother plant’s long stems.
At this stage, you can propagate your spider plant by cutting the baby spider plants off the mother plant with sharp, clean, sterilized scissors and placing them in a small pot or another container filled with moist potting soil. Water the new plant when needed.
You can do water propagation by putting the spiderettes in a vase or glass filled with water. Just make sure that the leaves of the small plantlets remain above the water level.
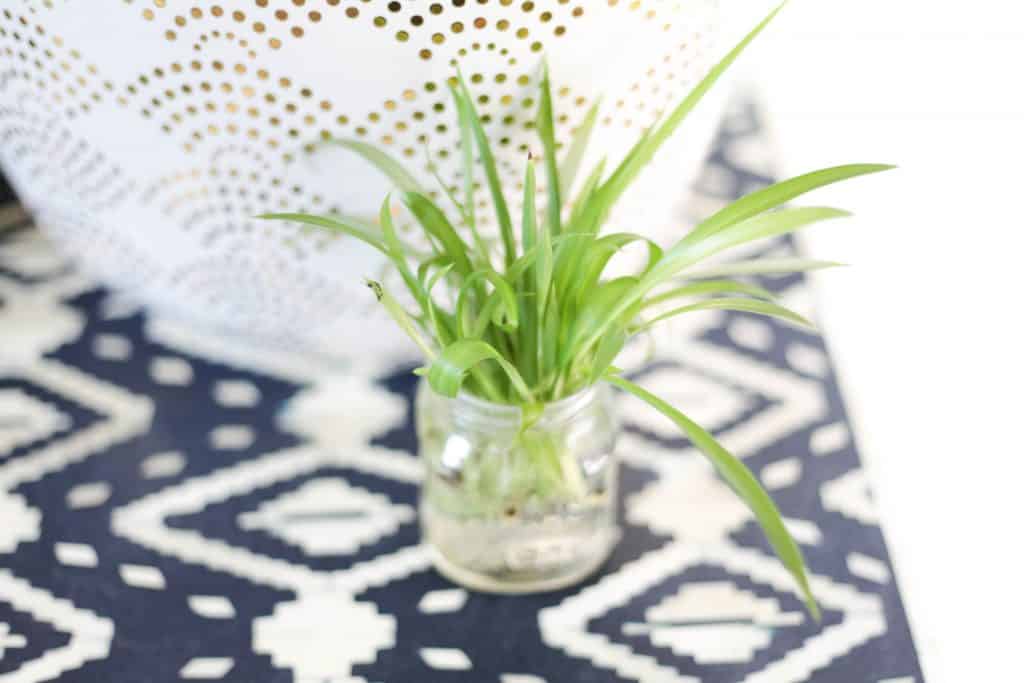
Once you see roots growing after a week or two, plant the new plants in a pot filled with general, all-purpose potting soil. Water the baby plants regularly to keep the soil moist and the plantlets healthy.
Head to this post if you want more spider plant propagation tips!
Care After Repotting
After repotting the spider plant, it needs regular care to keep it alive and healthy. Follow the tips below and enjoy a healthy, happy spider plant on your hands.
Water
Water is paramount to spider plant care, so water your plant frequently to keep it moist.
Don’t overwater it, though. Excessive watering can lead to root rot, brown leaves, and various plant diseases. Reduce your watering sessions during fall and winter, as houseplants rest during these seasons.
If you do forget to water your spider plant, its tuberous roots will help keep it alive for a few days without water. However, if you see the topsoil dry and leaf color fading or limp, it means that you need to water it ASAP.
Brown leaf tips and curled-up leaves are other signs of underwatering.
Note that the brown tips could also be attributed to fluoride and chlorine in your tap water, as spider plants are susceptible to these minerals. Make sure that your tap water does not contain them and if it does, use filtered or distilled water or rainwater instead.
Light
As mentioned before, a spider plant needs bright, indirect sunlight to survive. Sufficient light will also enhance the color of the leaves, especially if they are striped green and white.
Keep the plant in a north-facing window where the sunlight is less harsh. If you live in the southern hemisphere, keep the plant in a south-facing window instead.
If the leaves turn yellowish-white or look scorched, it may be a sign of too much direct sunlight. If this happens, shift the plant to an area with lesser sunlight.
Temperature and Humidity
Spider plants love warm, humid temperatures between 55 and 80 degrees Fahrenheit. If you grow them indoors, keep them from air-conditioning vents and drafts.
If your home environment has low humidity, it can turn your plant’s leaf tips brown. If this happens, mist the plant often with a mister to maintain humidity levels.
Fertilizer
A spider plant can do well without fertilizer. But if you feed it, it will give you beautiful white, star-shaped flowers. Feed it with a diluted liquid fertilizer regularly during spring and summer. Don’t fertilize during fall and winter.
Spider plants are lovely ornamentals that can help add character to any garden or home. Make sure you care for them well by following these tips and tricks!
Want to know more about spider plants?
Want more spider plant fun? Check out these:
- How to Propagate a Spider Plant
- Spider Plant Care Guide
- Types of Spider Plants
- Why does my spider plant have brown tips?
Author
-
by
-