Wondering how to repot orchids? You’re in the right spot.
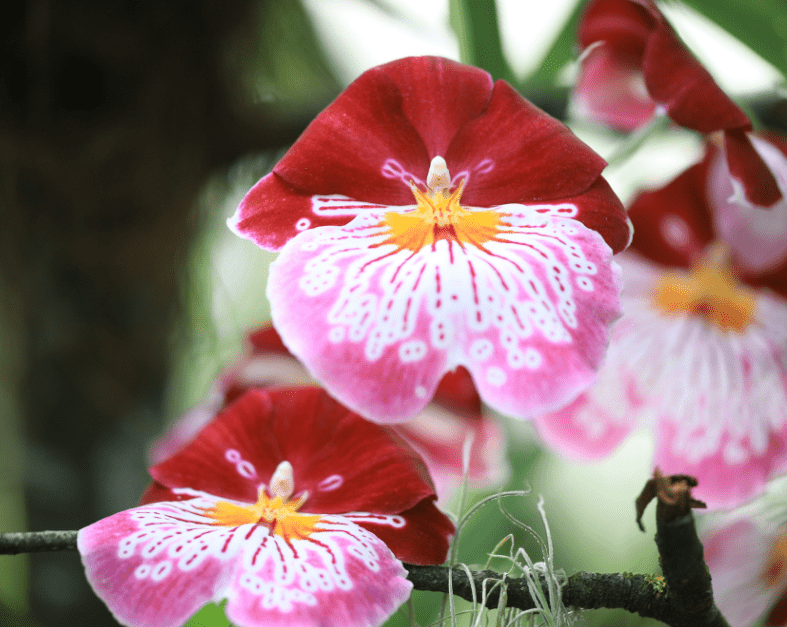
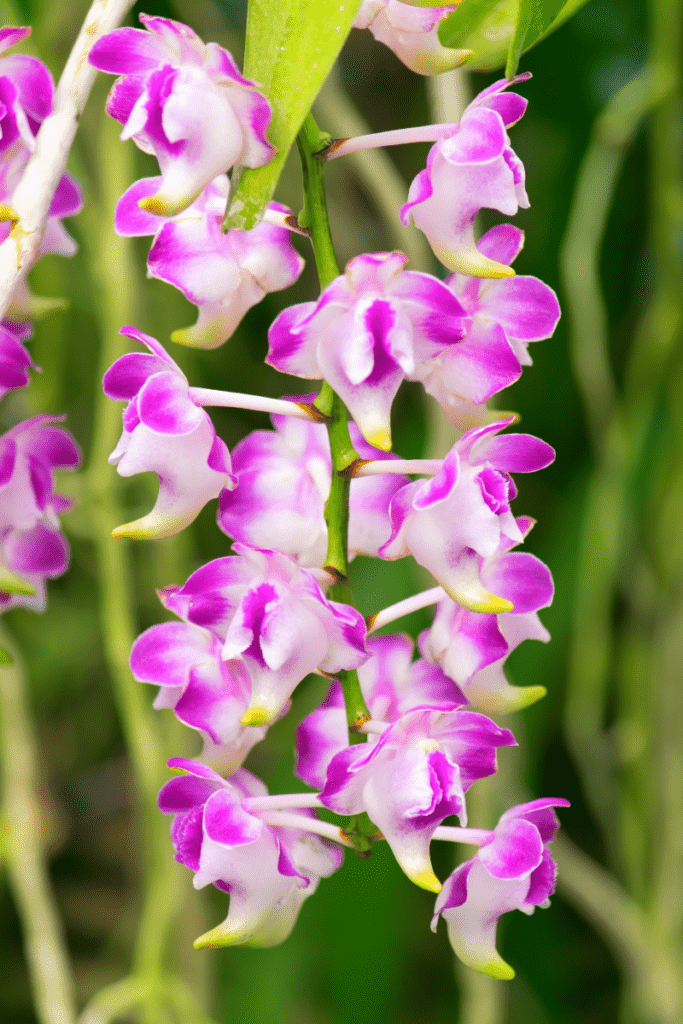
Orchids: they’re one of the most iconic, identifiable flowers out there. Caring for orchids can be a bit tricky; so if you’ve successfully raised an orchid flower, then give yourself a pat on the back!
But orchids grow, and sometimes you need to repot them. That should be a walk in the park, right? Well, repotting orchids is more complicated than you think.
Orchids have a delicate root system and they’re planted in a soilless potting mixture, which complicates things. In this article, we’ll be going over in detail how to repot orchids safely, so that you can still enjoy it’s beauty for years to come!
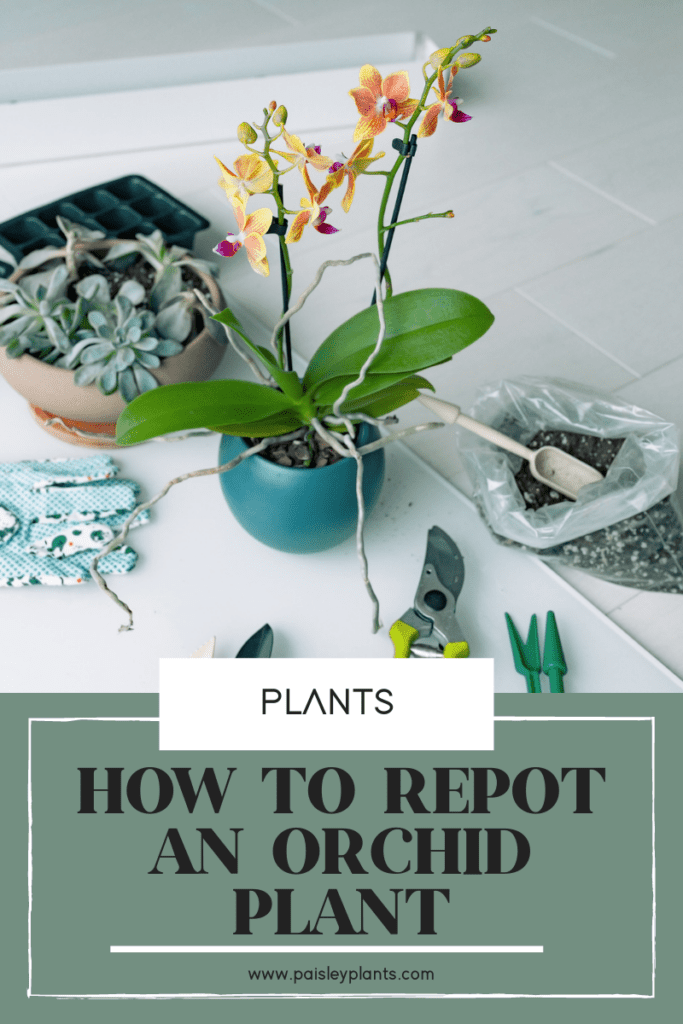
Table of Contents
When to Repot Orchids
There are two ways to determine when your orchid plant needs to be repotted. The main reason is that your plant is visibly root-bound. If you’ve noticed your plant’s roots are peeking out from the gaps in your pot, then this is an obvious sign of being root-bound.
The second reason your orchids should be repotted is because of the potting medium. Orchids require a well-draining, chunky potting mixture in order to survive.
As time passes, this potting mix starts to break down in smaller pieces. The smaller the pieces, the less drainage occurs, which is harmful to your orchid’s health. Repotting your orchids and changing out the potting mix will help improve drainage and airflow to your plant’s roots.
In terms of choosing the best time of year to repot your orchid, there’s no requirement for which season you should repot your orchids. However, you should never repot your orchids while it is in bloom. Wait until your flower stops flowering to repot it.
How to Repot Orchids
What You Need
- A new orchid pot. Your new pot should be slightly larger than your previous container.
- Orchid pots contain holes all over the sides of the pot and the bottom of the pot for good drainage. Orchid pots are typically plastic pots. If you cannot find an orchid planter, then porous clay pots made of terra cotta works well. If you’re putting it back in it’s current container rather than a new container, be sure to thoroughly clean it before putting the orchid back in the current pot.
- Orchid-specific potting mix
- Pruning shears
- A chopstick
- Gloves
Steps
Preparation
- Always keep in mind that the orchid’s roots are extremely sensitive to bacteria and are prone to contracting diseases when the roots are exposed.
- For best results be sure to sterilize any tools you use for repotting; including the planter, your pruning shears, and the chopstick. It’s also a good idea to wear gloves to protect your hands from the pieces of bark.
Repotting
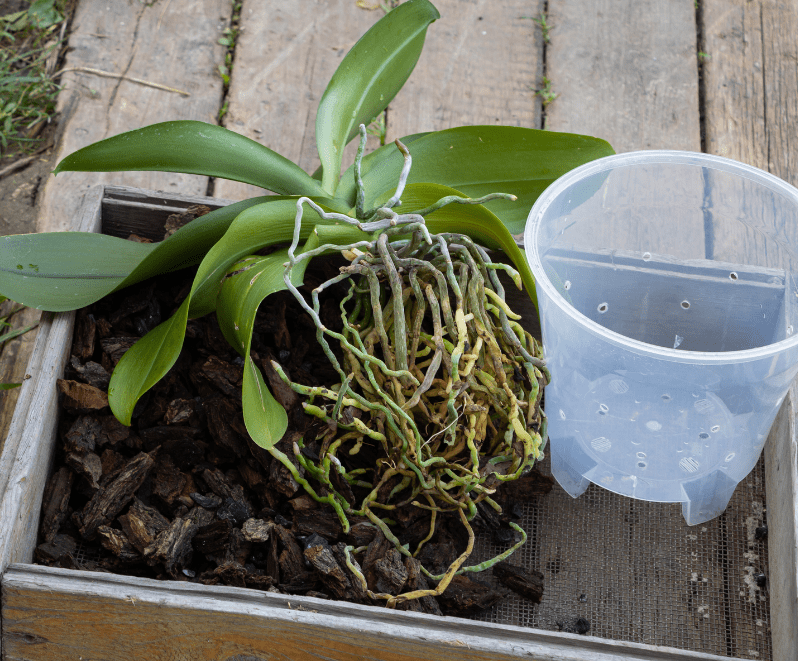
1. Remove the Plant and Prune Roots
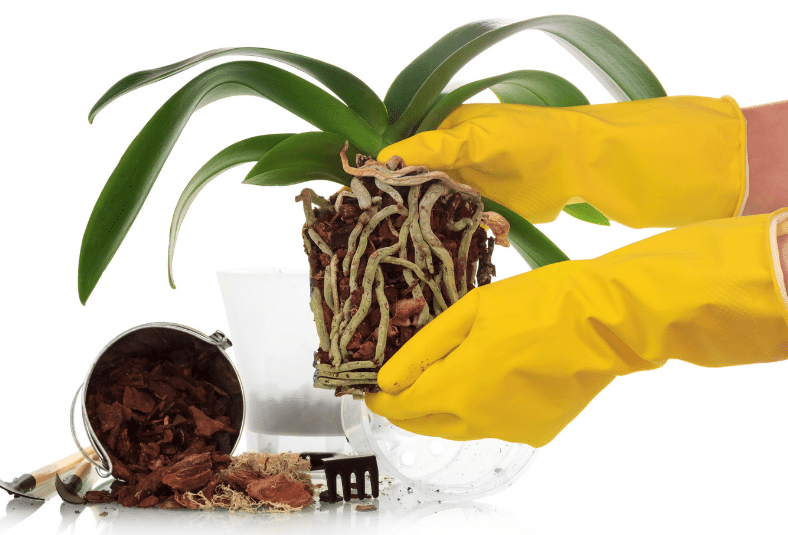
The first thing is to gently pull the root ball out of the planter and clean off the roots of the old potting medium. Using your pruning shears, clip any brown, rotting or dead roots and dead tissue. White roots are a sign of a healthy orchid root. Healthy roots are also firm to the touch.
2. Put in New Pot
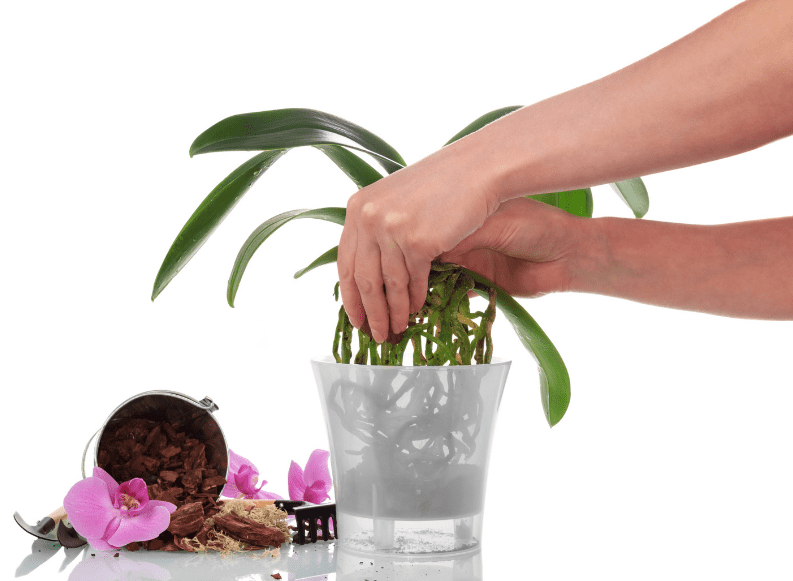
Once your plant is free of dead roots and old potting mix, gently place it in it’s new larger pot. Be certain that all of the roots are tucked down into the pot. You can leave any aerial roots out of the pot.
3. Add Potting Medium

Carefully fill your pot with the new medium.
4. Fill In Empty Spaces Around Roots
Use a chopstick to push the potting medium in between the roots.
5. Stake Orchid
You can use a chopstick or flower spike to tie up your orchid if yours has tall stems.
6. Mist
Wait a few days to water your plant to allow the roots to acclimate to their new home. You can mist your orchid every day for at least a week until new roots start to grow. In addition, lightly misting your plant helps reduce transplant shock.
How to Care for An Orchid
*For full care instructions, head to my Orchid plant care post!
Sun & Light
Orchid plants enjoy a bright, indirect light and will only bloom with adequate amounts of light. Try to avoid exposing your orchid to direct sun rays, especially during the afternoon.
However, certain varieties of orchid (such as dendrobiums) can tolerate more intense levels of sunlight.
Soil
Orchids are classified as epiphytes, meaning that they don’t grow in regular soil, but rather they non-parasitically grow on other materials such as trees or mossy rocks.
There are many types of potting mixtures on the market that are specifically tailored to orchids. If you don’t want to buy orchid mix, you can also opt to mix your own potting mix using a few simple materials. These materials include sphagnum moss, pine cones, coconut chips or coir and horticultural charcoal and other materials.
It is important to plant your orchids in a well-draining potting mix that has good air circulation. Orchid potting mix should have an acidic pH level.
Water
Orchids require very little water; instead preferring to be watered deeply and then allowed to dry out completely.
During the summer, water your plant deeply; water your plant until you see moisture pour out from the bottom drainage holes, this is ensure all parts of the plant is hydrated and has enough water.
During the winter, deep watering should be reduced to only once per month. Mist the soil every so often just to keep the plant lightly moist, avoid getting the foliage wet.
Fertilizer
Be sure to exercise caution when it comes to fertilizing their orchids. Too much fertilizer can actually be counterproductive and inhibit your plant’s ability to flower.
During the peak growing season, apply a weak fertilizer solution to your plant on a weekly basis. Cease fertilizing altogether during the winter months. You can also withhold fertilizer during bloom time.
Temperature & Humidity
The longevity of your orchid blooms is partially dependent on the temperature and humidity conditions. Orchid blooms last longest in an environment that is warm with a slightly humid climate.
The ideal room temperature range for orchids ranges between 65° and 85° F. Please refrain from keeping your orchids in a cold location; places such as near a drafty window or air conditioning vent are examples of poor locations to keep your orchids in.
Pruning
Employing proper pruning techniques can help encourage new, healthy growth in your orchids. Always ensure that you are using sharp, sterilized shears to make cuts in your plant.

Start by pruning any faded orchid blooms. This prevents the plant’s energy from being wasted on old growth, instead focusing on developing new growth.
Certain varieties of orchids have different requirements for pruning stems, so I highly recommend checking up on which variety of orchid you own before making any stem cuts.
FAQ
Do Orchids Need Special Pots?
You’ve probably encountered plant pots that are marketed towards orchids, but what makes a planter orchid-specific? A planter that is made for orchids have holes all over the surface of the pot to promote drainage.
As we’ve discussed previously, orchids must have dry soil conditions in order to survive. Wet root is extremely dangerous to the life of your orchids, as it opens them up to disease such as root rot.
In place of an orchid pot, gardeners can also opt to use a porous planter made from either unglazed ceramic or terra cotta. Both of these materials are extremely porous and help absorb excess moisture.
How Long Do Orchids Live?
As long as you maintain meticulous care, orchids are capable of living for decades.
Why Isn’t My Orchid Blooming?
Part of the challenge of caring for an orchid is maintaining an optimal environment that will encourage your flower to bloom. Orchids won’t bloom unless every aspect of their care requirements are checked. Not only that, but there are certain conditions that can inhibit your flower’s ability to bloom.

Orchids need a 15° to 20° temperature difference between day and night in order for blooming to occur. In addition, fertilization plays a role in the blooming of your orchids. Too much fertilizer is actually detrimental to your orchids and can stunt the likelihood of blooming. Rather, apply a weakened fertilizer solution to your orchids to encourage strong growth.
Do Indoor Orchids Bloom Again?
Yes, indoor orchids are capable of producing blooms again. The key to re-blooming lies within properly caring for your orchids. Always maintaining the proper sun exposure, soil, moisture, etc. is essential to your orchid’s longevity (including repeat blooms).
My Orchid’s Leaves Are Withering! What’s Happening?
Shriveled leaves are often a sign your orchid is not properly hydrated. Even if you’re watering your orchids as often as you should, this could be a sign the orchid’s roots are having problems absorbing the water.
Healthy orchid roots should be plump, firm, and be white/green in color. If your roots appear to be soft and brown/black, take a sterile pair of pruning shears and clip off any unhealthy roots. Repot your orchid using fresh soil.
My Orchid’s Leaves are Turning Yellow! What’s Happening?
This sounds like a symptom of root rot. Immediately remove your orchid from its pot and prune any signs of rotted roots. Repot your orchid using fresh, dry soil. You can use the same pot, but sterilize it before replanting.
While they have a reputation for being finicky flowers, the beautiful bloom of an orchid makes all that hard work worth it. Orchids have some lofty expectations, and repotting is no exception. With careful handling and proper care, you can have an orchid plant that lasts for decades!
Don’t have an orchid plant yet or just want a new one? Here’s the best places to buy an orchid plant online!
Author
-
by
-