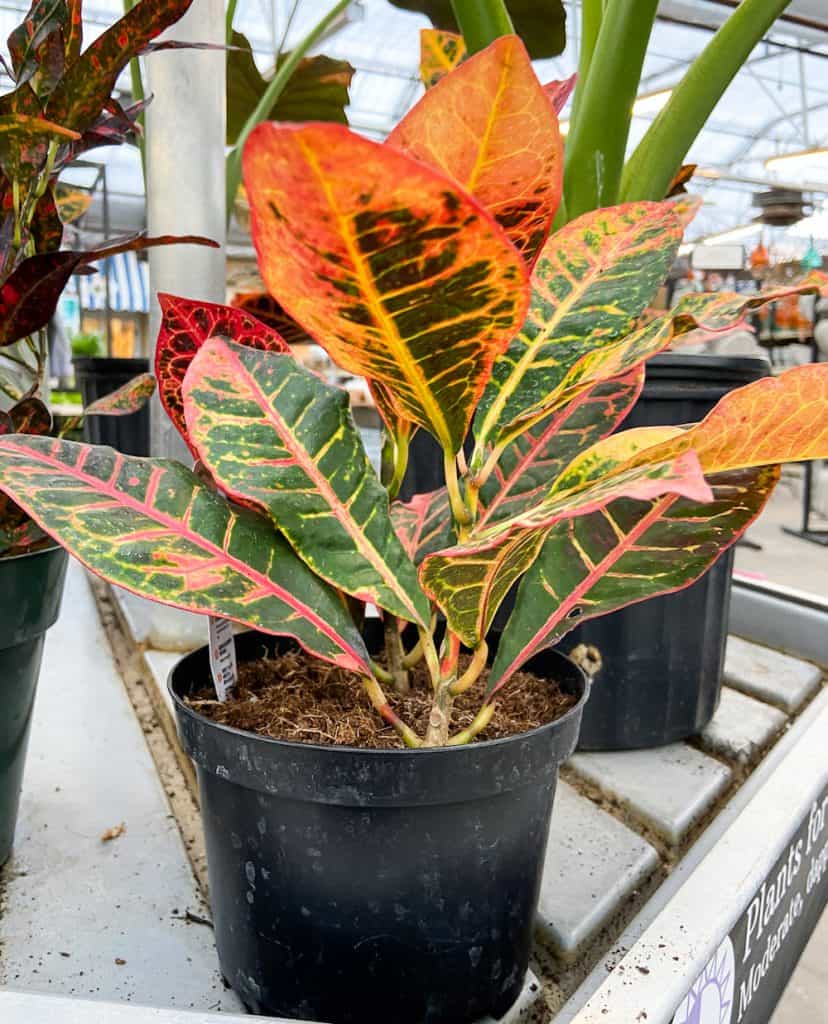
Crotons have got to be one of the most beautiful plants out there. Its splashes of green, yellow, red, and orange make it a beautiful home decoration, both as an indoor plant and outside the house.
The best part about owning a croton is how easy it is to make more of them. That’s right- by propagating your croton plant, you can make more and more new plants.
In this article, I’ll be taking an in-depth look at three methods of croton propagation.
Please note – when propagating a croton be sure to wear a pair of gloves to protect your skin from the milky sap. That sap can cause skin irritation!
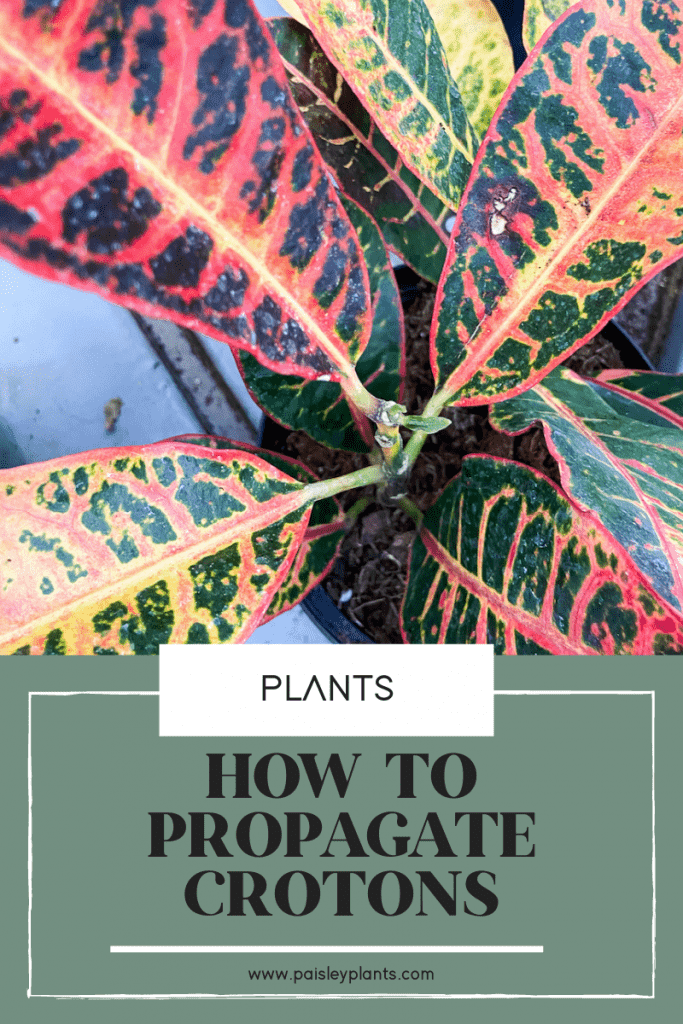
Table of Contents
Scientific Background
The Codiaeum variegatum, otherwise known as the croton, garden croton and rushfoil, is a tropical plant native to the regions of Asia and the Pacific Islands. As a tropical plant that are used to tropical climates, crotons adore the heat, and can be grown in USDA zones 11 and 12 as an evergreen plant.
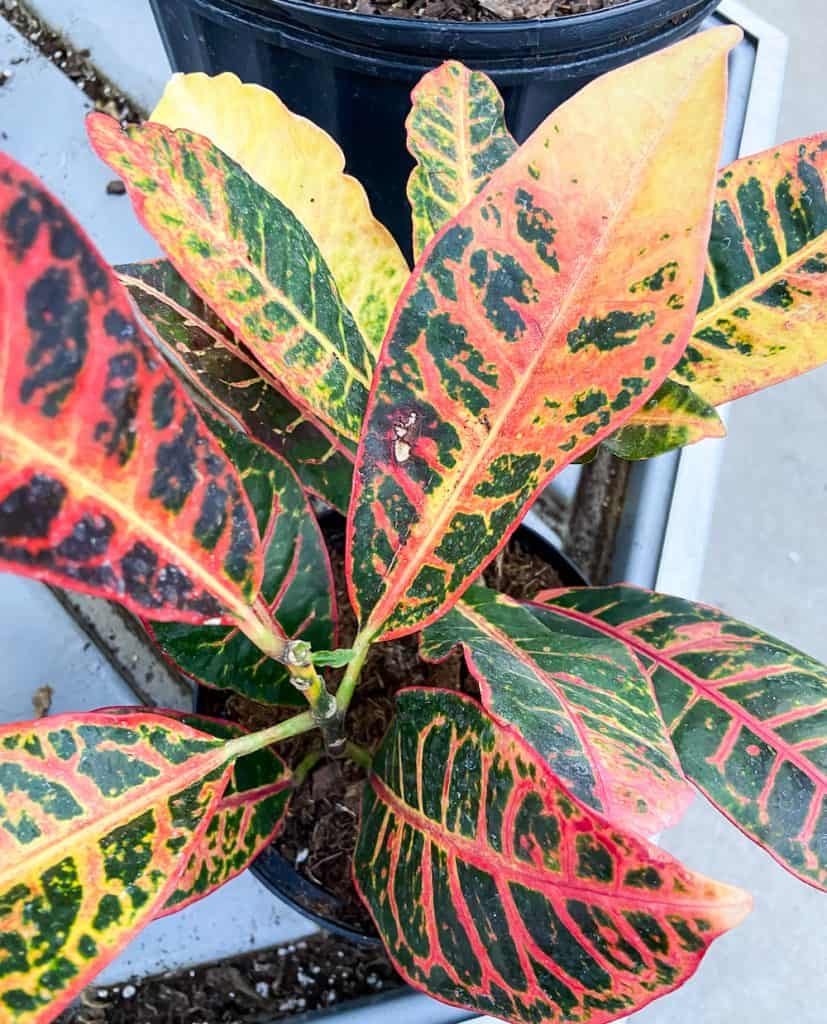
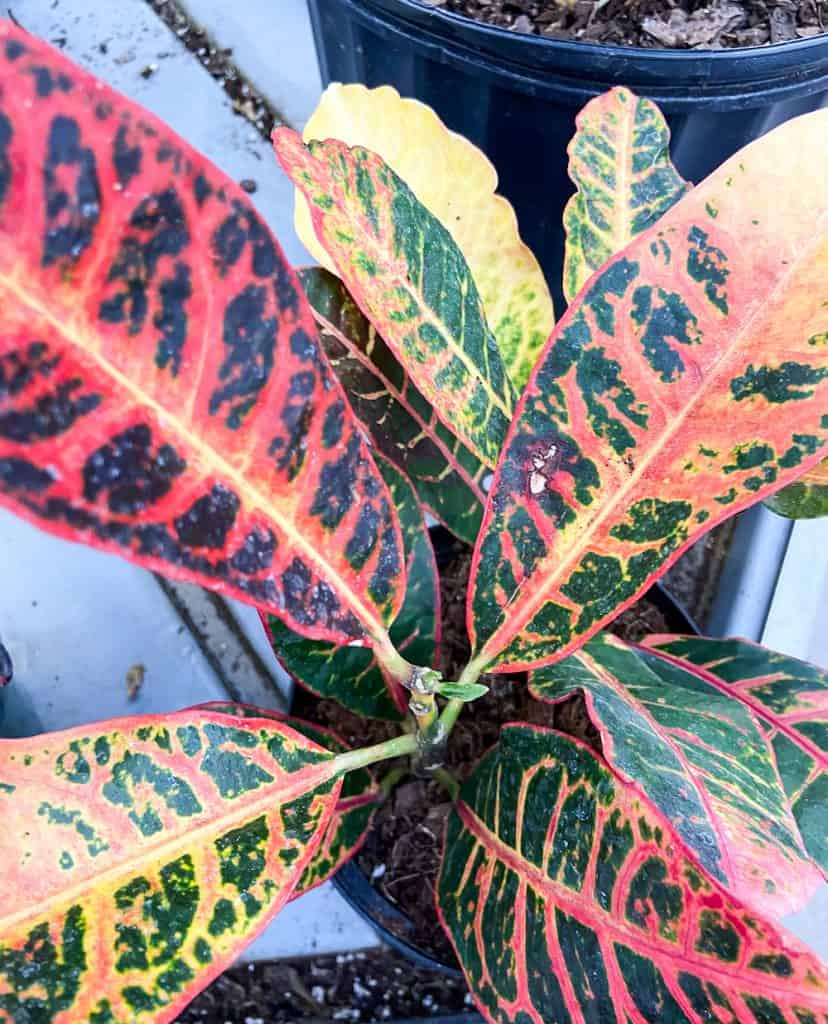
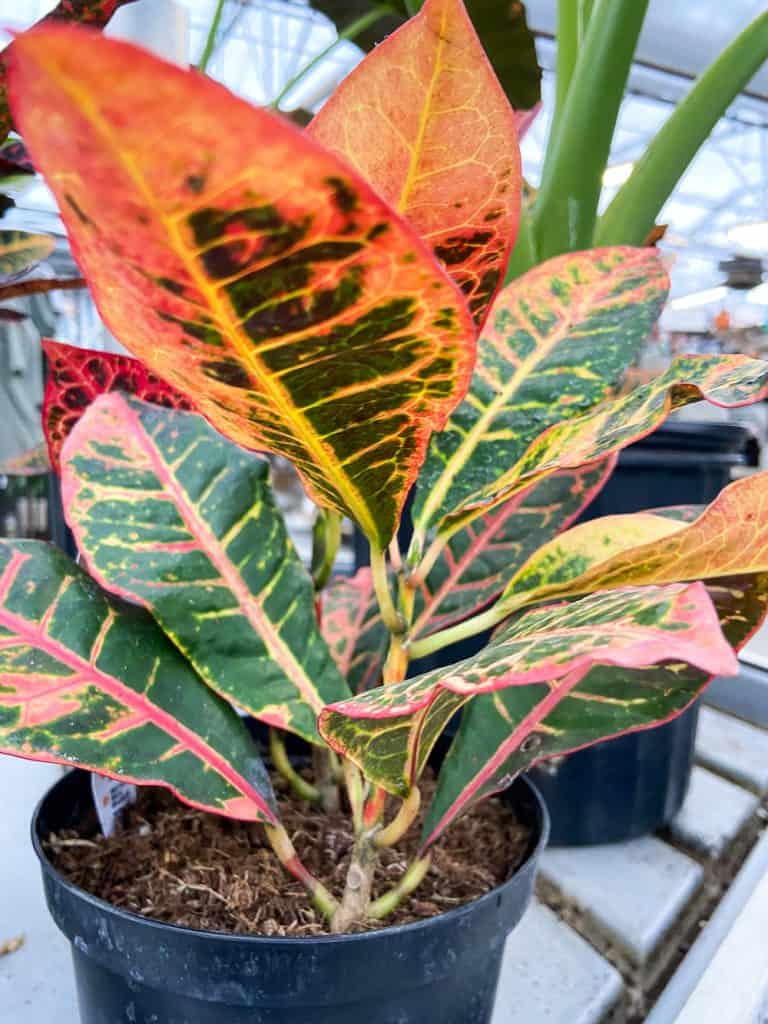
Crotons are one of the more easily identifiable houseplants; their variegated leaves come in an explosion of vibrant colors which include, red, yellow, orange, and green.
Crotons that are grown outdoors can grow to a staggering 10 feet tall; pot-grown crotons only grow to a fraction of that height (around 3 feet tall), making them better suited for indoor use.
When grown indoors, croton plants are hard to please; for this reason, they are grown as outdoor plants (though indoor growing is entirely possible, if you are up for the challenge).
The entirety of the croton plant (including the seeds) are highly toxic to both humans and animals, so it is a good idea to keep these far away from children and pets.
Like most plants, there are many different croton varieties with different leaf shapes, color combinations and even different patterns!
Are Crotons Hard To Propagate?
Not at all, crotons are very easy to propagate. If you take your time and follow each step, you’ll be multiplying your croton plants in no time! Let’s take a look at two very popular methods to propagate crotons.
Croton Water Propagation via Cuttings
Water propagation is always my go to method of propagating so you can see the new roots forming!
Step-by-Step
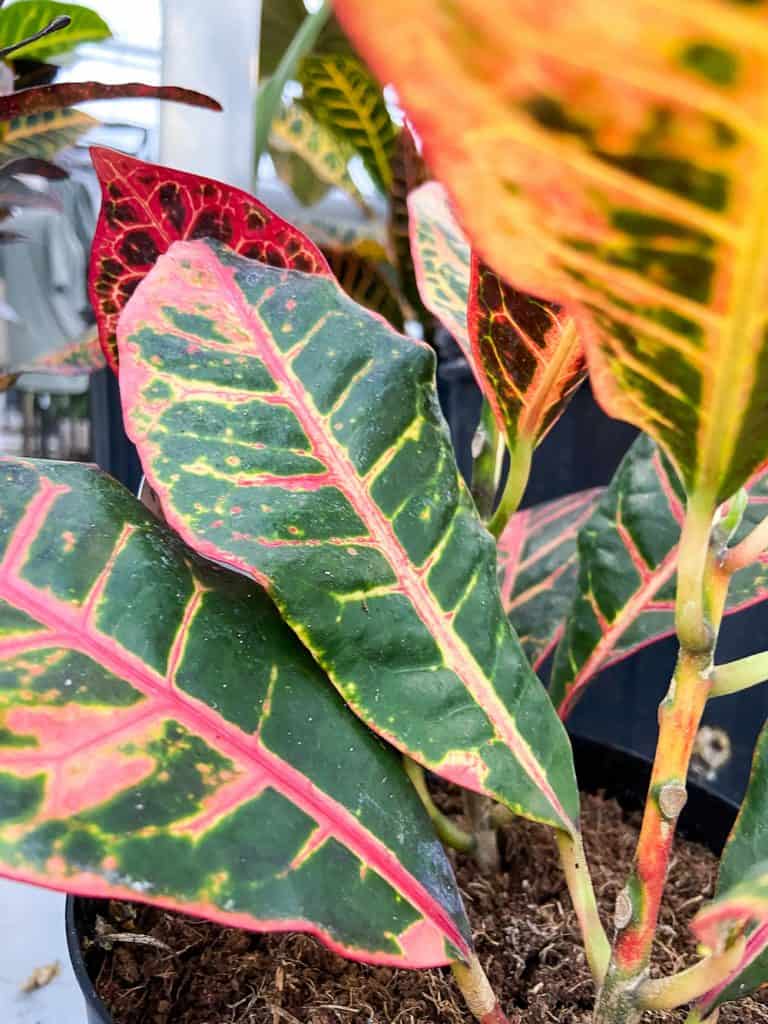
1. Using a pair of clean, sterile scissors, snip off a healthy stem of the croton. This stem should be at least 3 inches long and contain at least three croton leaves. Make a 45° cut above the leaf node.
2. Fill a propagation station, glass or jar with water.
3. Put the stem cutting in the propagation station or glass of water. Ensure that the nodes are covered by water but that the leaves are above the water level.
4. Put in a warm, sunny spot and replace the water once a week.
5. It takes around 4 weeks for new roots to develop. You’ll be able to see the roots forming in the water!
6. After the roots get a few inches long, you can then pot it in a new pot with soil.
Pros
This method is very simple and you can see the roots forming.
Cons
There’s one additional step to this process than if you just propagated your cutting in soil.
Croton Soil Propagation via Cuttings
This propagation method is very similar to the previous one – you just swap water for soil!
Step-by-Step
1. Using a pair of clean, sterile scissors, snip off a healthy stem of the croton. This stem should be at least 3 inches long and contain at least three croton leaves. Make a 45° cut above the leaf node.
2. To increase the likelihood that your cutting will root, you can opt to dip the cut-end of the stem in rooting hormone powder.
3. Plant the stem cutting in a small pot with moistened soil; bury the cutting about 1.5 inches deep. Place the pot in an area that is warm and sunny.
4. Optional: place a plastic bag over the pot for the first week of propagating to create a mini “greenhouse”
5. It takes around 4 weeks for new roots to develop. The best indicator that the plant has rooted will be new growth. You can also check by gently tugging on the stem. If you are met with any resistance, that means roots have formed.
Pros
This method is very simple and straightforward.
Cons
Because the cuttings are supposed to root in the soil, you have to wait at least four weeks before you can tell if the plant has successfully rooted or not.
Propagation via Air Layering
Step-by-Step
1. For this technique, you’ll need a sharp blade. Make a diagonal cut in the stem 1/3 to 1/2 the diameter of the stalk.
2. Treat the wound with rooting hormone powder and wedge in a toothpick to keep the cut open.
3. Pre-soak sphagnum moss peat in a bowl of water. Squeeze out the excess, but make sure the peat moss is still wet.
4. Pack the damp moss around the wounded area. Wrap the moss with plastic wrap to keep it secure.
5. Rooting should occur within 2 to 3 months. Gently squeeze the plastic wrapped moss. If the plastic wrap is still soft, that means roots haven’t formed yet underneath. You’ll know roots have grown when the plastic wrap feels hard when you squeeze it.
6. Cut the stem off and transfer the rooted stem into a pot with the appropriate soil and care for your new croton accordingly.
Pros
By air layering, you can get a full grown croton plant, as opposed to propagating a small stem cutting.
Cons
Air layering can be an intensive process compared to propagating via stem cuttings. In addition, air layering takes double or triple the amount of time for roots to grow.
These plants don’t grow very well from croton seeds.
Croton Care After Propagation
It’s very important to take proper care of your croton after you propagate it. You can find our full care guide on this croton care guide but here’s some times to get you started!
Sun & Light
Crotons benefit greatly from bright, indirect sunlight. Having a good light source for your croton is important for the leaves. If a croton is getting inadequate light exposure, it can cause new leaves to be less colorful.
Water
The croton plant enjoys a nice, moist soil; frequent watering is key. During the summer, your croton’s soil should be evenly moist; try and aim for 1 inch of water every week. As the winter approaches, reduce your watering to only once every two weeks.
Soil
The ideal soil type for a croton is something that is well-draining, yet moist. The soil should be rich with organic compost and humus. Crotons enjoy an acidic soil type, aim for a pH level between 4.5 and 6.5.
Temperature & Humidity
When housing your croton indoors, make sure the room temperature never dips below 60°F. They don’t like cold weather!
Just like light exposure, humidity levels play a role in the color of your croton plant. Crotons love high humidity.
The humidity level in your home should be between 40 and 80%; leaves falling off are a sign of insufficient humidity. Using an air humidifier can help you maintain a proper humidity level in your home.
Choosing a Pot & Repotting
When selecting a pot for your croton, please make sure that it has at least one drainage hole. Drainage holes are important for your plant because they allow excess moisture to escape from the bottom of the pot, preventing the roots from sitting in standing water.
Without drainage holes, you run the risk of exposing your croton to fungal and bacterial infections and root rot.
A freshly propagated plant shouldn’t get potted into a too big plant. Keep into consideration the size of pot your plant came from and how much smaller your propagated plant is.
Pruning
Pruning your croton plays an important role in plant upkeep; it encourages fuller growth and maintains the plant’s size. You should always start with a pair of sharp, sterilized scissors that have been dipped in isopropyl alcohol.
The best time to prune your croton is during the beginning of the growing season. Snip off any dead or damaged leaves to promote healthy growth. When cutting leaves off, cut above the nodes of the stem.
Please refrain from pruning more than 1/3 of the plant, as this can cause stress on the croton.

Where to Buy Crotons
FAQ
Yes, you can. As long as you include a stem with at least three sets of leaves, you can propagate your croton plant. See the above section, “Propagation via Cuttings” for a detailed step-by-step guide on propagating from leaves.
On average, an indoor croton lives about 2 to 4 years. With meticulous care, you can extend that lifespan beyond 4 years.
An outdoor croton that is grown in its native zones will live for much longer; the ideal zone for an outdoor croton is 11 or 12.
In Conclusion
With a few simple steps, you too can propagate your croton plants so that you have a surplus of these tropical beauties! Multiplying your crotons are helpful if you’re using them for outdoor landscaping, or even just interior design.
Even gifting a loved one with a croton plant that you grew yourself is all the reasons you need to give propagation a try.
I love propagating my plants, here’s a few other propagation posts to check out!
Author
-
by
-